2026 How to Build Metal Studwork for Your Construction Needs?
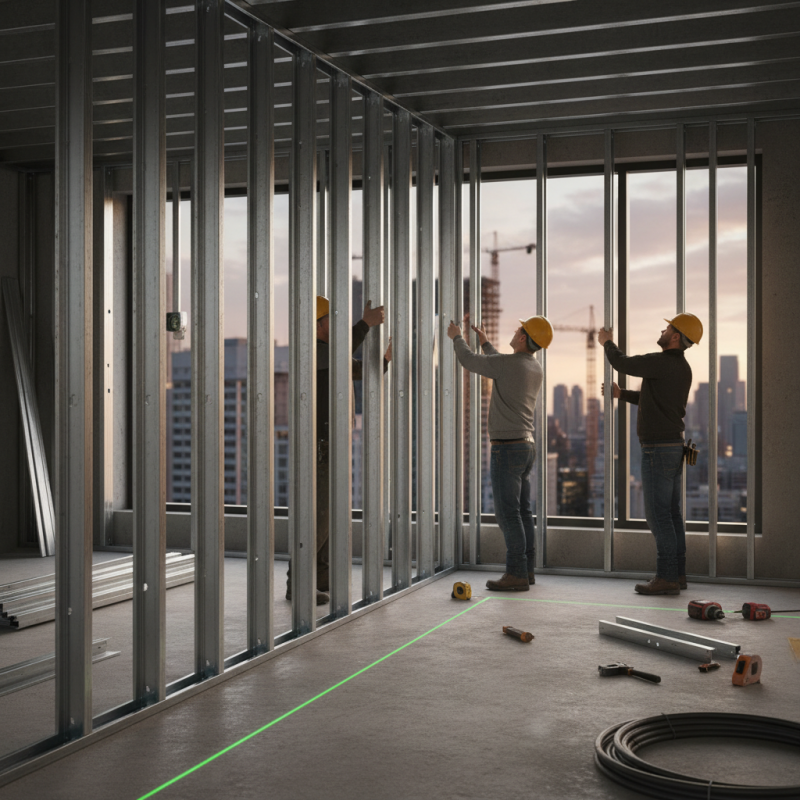
Building with Metal Studwork is becoming a popular choice in construction. Metal studs offer durability and stability. They are also lighter than wood. This makes them easier to handle. Many builders prefer them for interior walls and partitions.
Creating a framework with Metal Studwork involves several steps. First, planning is crucial. Measure the space precisely. This helps avoid mistakes that can be costly. Next, selecting the right tools and materials is essential. Using quality metal studs ensures a strong structure.
Challenges can arise during the process. For instance, alignment issues may occur. It's important to double-check measurements. Revisions might be necessary if things are not right. A well-built metal stud framework can provide excellent long-term results if done correctly. Embrace the opportunity to learn from any setbacks.
Understanding Metal Studwork and Its Applications in Construction
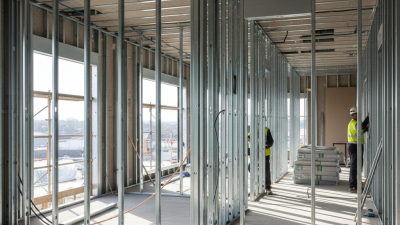
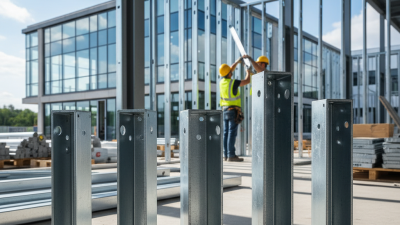
Metal studwork is becoming increasingly popular in modern construction. It offers durability, flexibility, and resistance to fire and pests. Metal studs are lightweight but strong, making them ideal for walls, ceilings, and frames. They are often used in commercial and residential projects.
When working with metal studs, it’s essential to plan your layout carefully. An accurate plan saves time during installation. Ensure you measure everything twice, as cutting mistakes can be costly. A common mistake is not accounting for the space needed for insulation or electrical wiring.
Tips for working with metal studs: Always wear safety gear, including gloves and goggles. The sharp edges can cause injuries. Use a metal stud finder to locate existing infrastructure behind walls. This prevents potential damage during installation. Also, consider having a practice section before starting your project. Hands-on experience boosts confidence and ensures better results. Be prepared to make adjustments as you go; flexibility is crucial in construction.
2026 How to Build Metal Studwork for Your Construction Needs?
| Dimension |
Material Type |
Common Uses |
Installation Considerations |
| 3-5 inches |
Galvanized Steel |
Interior Walls |
Ensure proper alignment for drywall |
| 6-8 inches |
Cold-Formed Steel |
Office Partitions |
Use screws rated for metal |
| 10 inches |
Aluminum |
Heavy-Duty Structures |
Consider weight load and support |
| 15 inches |
Steel Stud |
Commercial Buildings |
Need specialized tools for installation |
Selecting the Right Materials for Metal Stud Fabrication
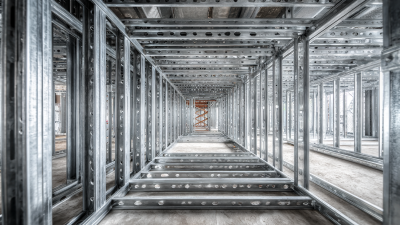
When building metal studwork, selecting the right materials is crucial. Metal studs come in various gauges and designs. Choosing the correct gauge impacts strength and weight. For light-duty applications, 25-gauge studs may suffice. For heavier loads, opt for 20-gauge.
Tips: Always consider the environment. Humid areas may need rust-resistant coatings. Indoor spaces can use standard studs without worry.
Be mindful of dimensions as well. Metal studs typically come in 10-foot lengths. Ensure your framing is precise to reduce waste. Pay attention to the spacing between studs, commonly 16 or 24 inches apart. This variances influence drywall installation and structural integrity.
Tips: Double-check your measurements. Mistakes here can lead to costly rework. Take your time and avoid rushing. Even experienced builders can overlook details. Reflect on past projects to improve your current approach.
2026 Metal Studwork Material Comparison
Step-by-Step Guide to Installing Metal Studs in a Framing System
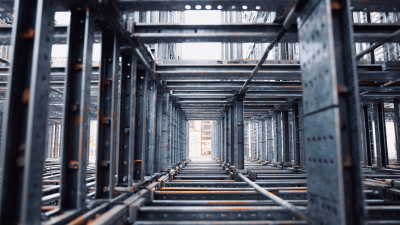
When installing metal studs in a framing system, preparation is key. Start by gathering your materials: metal studs, track, screws, and tools. Ensure your workspace is clear. Measure your walls accurately to avoid errors. It’s crucial to be precise. A small mistake can lead to big issues later.
Tips: Always double-check your measurements. A wrong cut can waste materials. Use a snap line for straight markings, which will help you keep your studs aligned. Consider the weight of your wall decorations. If you plan to hang something heavy, you may need additional support.
Begin by installing the track at the floor and ceiling. Tap it into place, ensuring it’s level. Place the metal studs vertically between the tracks. Use screws to secure them. There might be challenges with alignment. It’s normal. Stay patient and take your time. If a stud doesn’t fit, adjust rather than force it.
Tips: Take breaks when needed. Framing can be repetitive and exhausting. It’s important for your focus and precision. If you feel frustrated, step away for a moment to clear your mind. Remember, the structure must be sturdy to last.
Common Techniques for Joining and Securing Metal Studs
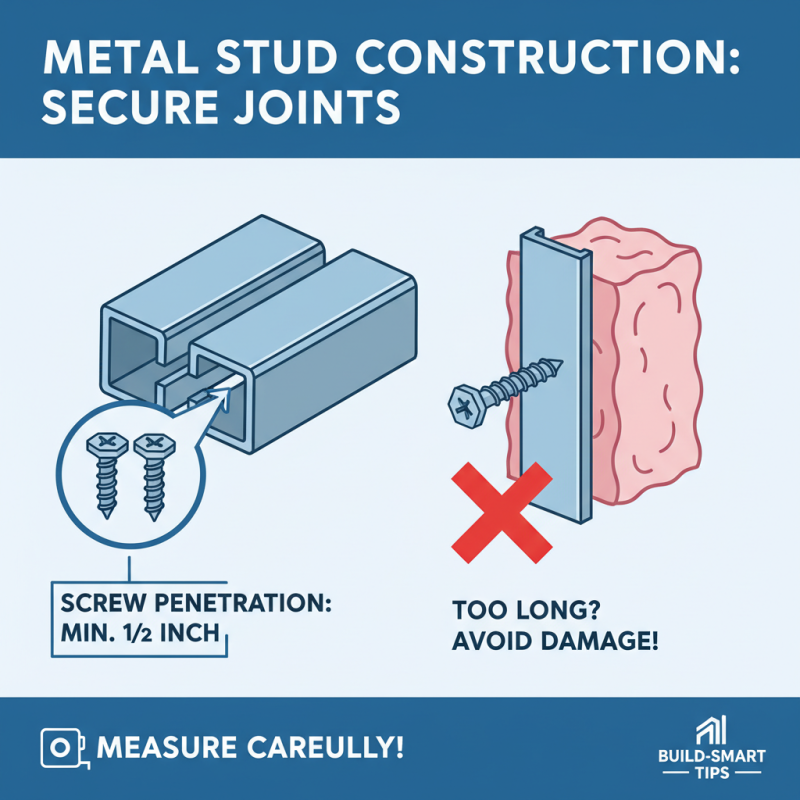
When constructing with metal studs, securing and joining them correctly is crucial. One common technique involves using screws. These screws should penetrate at least half an inch into the metal. This ensures a strong bond. However, if the screws are too long, they can protrude unwisely or damage insulation. Be mindful of your measurements during installation.
Another technique is the use of metal brackets. These can help connect metal studs at corners or intersections. They provide extra support. However, using brackets can sometimes complicate the installation process. If misaligned, they create weak points that affect the overall structure. Always check the alignment twice.
Welding is another option for joining metal studs. This method is strong but requires careful execution. Welds can create heat stress, which may warp the metal. If improper, it could lead to structural failure. Practice is essential to master this technique. Keep experimenting, and learn from each attempt for better results.
Finishing Touches: Insulation and Drywall Installation with Metal Studs
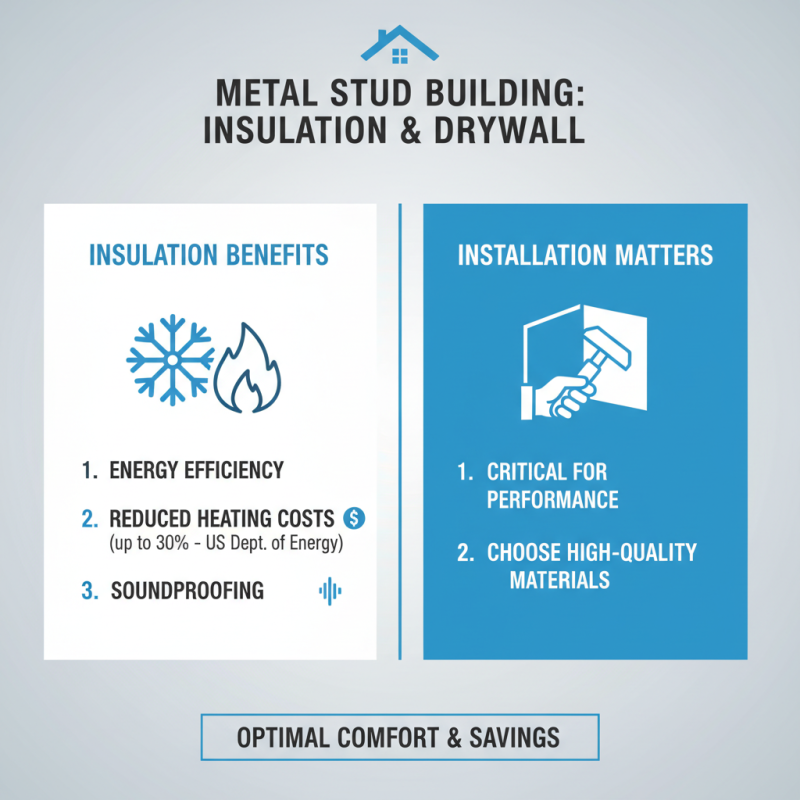
When building with metal studs, insulation and drywall installation are critical aspects. Proper insulation can improve energy efficiency. According to the U.S. Department of Energy, well-insulated buildings can reduce heating costs by up to 30%. Selecting high-quality insulation is essential, as it affects both temperature control and soundproofing.
Installing drywall over metal studs requires specific techniques. Ensure the studs are spaced correctly, typically 24 inches apart. This spacing helps to prevent sagging. Use appropriate screws to secure the drywall to the studs, avoiding gaps. Improper attachment can lead to cracks or weak points in the walls.
Attention to detail is a must. Check for leaks in insulation. Small gaps can significantly reduce effectiveness. Incomplete insulation results in drafts and higher energy bills. Always review your work. Mistakes during this phase can lead to costly repairs later. Rethink any step that feels rushed or unclear. Engaging experts for tricky sections may save time and money.