2026 How to Build a Steel Stud Wall Framing Step by Step Guide?
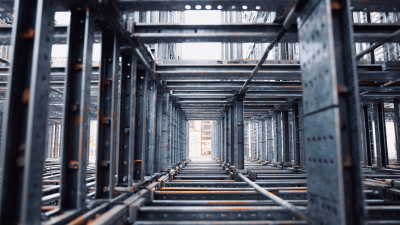
Building a steel stud wall framing can be an enriching project. This method is popular for its durability and versatility. Many homeowners choose it for various applications, from creating rooms to reinforcing structures.
When planning a steel stud wall, consider your requirements. Are you looking for soundproofing, fire resistance, or simply a sturdy framework? Understanding these needs will dictate your approach. Be aware of potential challenges. Steel can be tricky to work with for some. Mistakes can lead to frustrating outcomes and wasted materials.
Despite the complexity, with proper guidance, you can succeed. This step-by-step guide aims to simplify the process. You will learn essential techniques and tips that can elevate your project. As you navigate through this journey, remember to embrace the learning curve and refine your skills along the way. Each step taken contributes to building not just a wall, but also your confidence and expertise in steel stud wall framing.
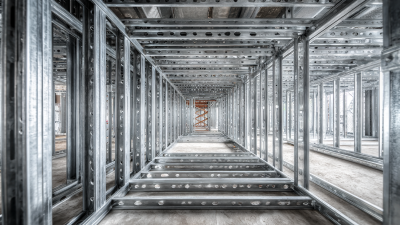
Understanding Steel Stud Wall Framing Basics
When building a steel stud wall, it’s essential to understand the basics of steel stud framing. Steel studs are lightweight and durable, making them a popular choice for modern construction. They resist warping and rotting, which is beneficial in various climates. Plus, steel framing can save time and money on long-term projects.
Using steel studs requires precise measurements and tools. Ensure your workspace is clear to avoid accidents. Accuracy matters. If measurements are off, your wall won't be level. It’s easy to make mistakes, especially when cutting pieces or positioning studs. Double-check your calculations before proceeding.
Tips: Use a chalk line to mark where you’ll place your studs. This visual guide can prevent errors. Additionally, consider wearing safety gear like gloves and goggles. Steel edges can be sharp, leading to injuries.
Finally, remember that even seasoned professionals make mistakes. Be prepared to revise your work. Learning from errors is part of the process. Embrace the challenges. Each project teaches something new.
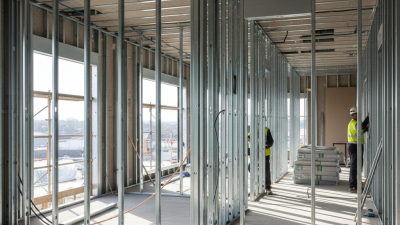
Steel Stud Wall Framing Components Analysis
Tools and Materials Needed for Steel Stud Wall Construction
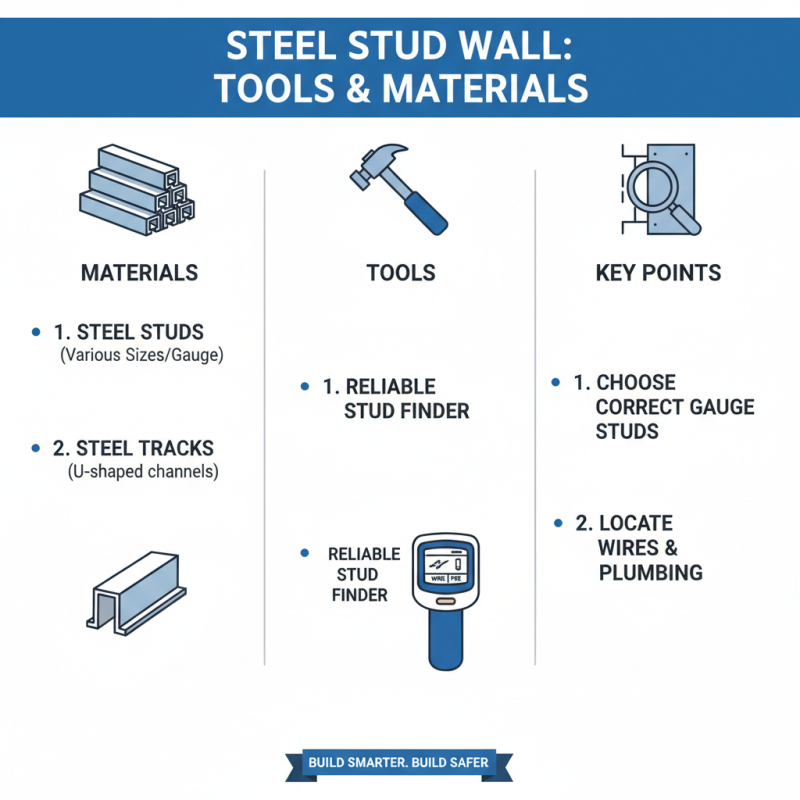
When building a steel stud wall, having the right tools and materials is crucial. You will need steel studs, which come in different sizes. Make sure you select the right gauge for your project. Additionally, steel tracks will be required to secure the studs in place. A reliable stud finder is essential to locate electrical wires and plumbing behind your existing walls.
Tools matter. A metal cutting saw will help you shape your studs accurately. Don’t forget to include a level. It ensures your wall remains straight. A tape measure is vital for precise dimensions, so you don’t waste materials. Fasteners like screws should be suitable for metal. A drill is necessary to secure everything together. Sometimes, you might find that your measurements are off. It's a common mistake, so double-check everything.
Also, safety gear is non-negotiable. Wear gloves and goggles to protect yourself. Mistakes can happen, and safety should always come first. Be prepared for unexpected adjustments during the framing process. Keep extra materials on hand, as they often come in handy. Learning from each step builds your skills for future projects.
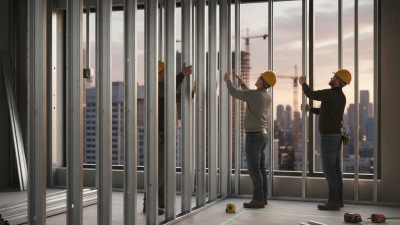
Step-by-Step Guide to Installing Steel Studs
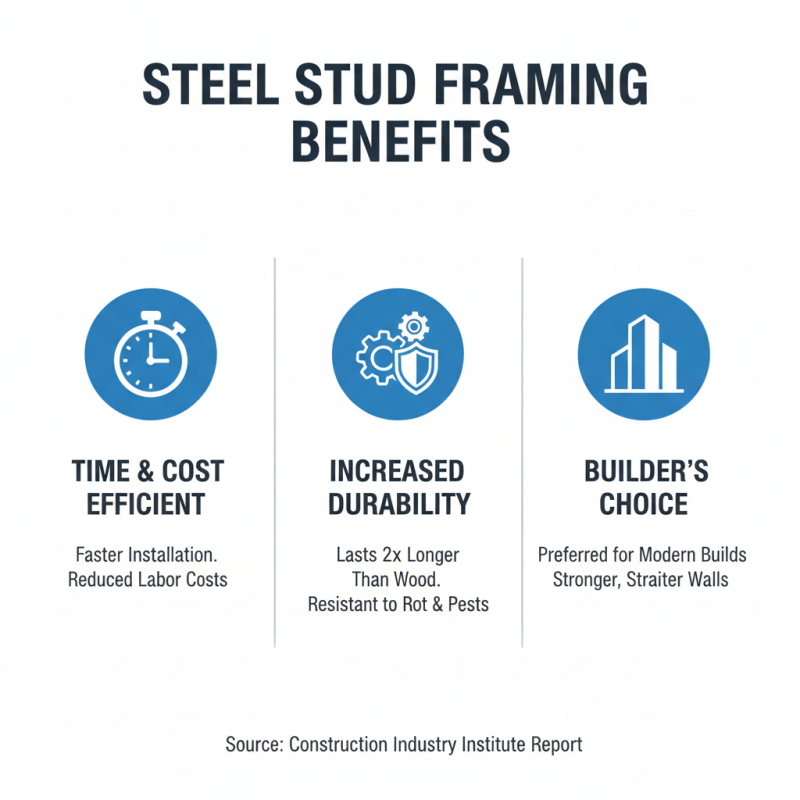
Installing steel studs is an efficient way to create durable interiors. The process can save time and reduce costs. According to a report by the Construction Industry Institute, steel framing can last up to twice as long as traditional wood framing, making it a preferred choice among builders.
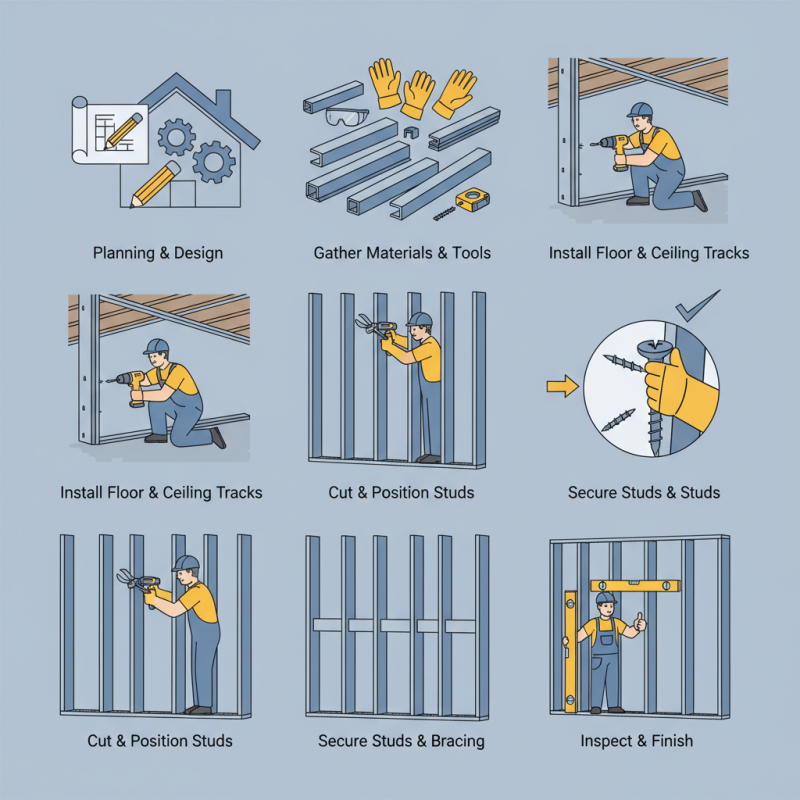
Begin by measuring the space. Ensure accurate measurements to avoid waste. A small error can lead to misalignment. Steel studs come in different gauges, which affects strength. For most interior walls, a 25-gauge stud is often suitable. Prepare your floor by marking the layout. This step is crucial. It helps you visualize the final structure.
Fix the bottom track to the floor. Use fasteners compatible with your flooring type. Next, insert vertical studs into the bottom and top tracks. Maintain a standard 16-inch on-center spacing for load-bearing walls. Remember to account for insulation and wiring. While steel studs resist warping, they can be challenging to cut. Specialty tools may be needed. Reflect on your methods. Learning from each step improves your framing technique. Perfecting installation requires practice and attention to detail.
Adding Insulation and Drywall to Your Steel Stud Wall
When adding insulation and drywall to your steel stud wall, several steps require attention. Begin by measuring your wall space accurately. Use a utility knife to cut the insulation to fit snugly between the steel studs. This step might be trickier than it seems. Ensure the insulation fits tightly to avoid gaps. Gaps can lead to energy loss. Don't rush through this part; precision is key.
Once your insulation is in place, it's time for the drywall. Cut the drywall sheets to size using a drywall saw. Make sure to measure twice before cutting. Align the drywall with the top and bottom edges of the studs. Secure it using drywall screws, placing them about 16 inches apart. Sometimes, the screws may strip if you're not careful. Check each one to ensure a solid connection. After installation, you might notice imperfections. It's normal to see seams or uneven edges. Plan some time for sanding and mudding to create a smooth finish. This stage is vital for a polished end result, so don’t overlook it.
Finishing Touches and Safety Tips for Steel Stud Walls
Building steel stud walls can be a rewarding project, but it comes with challenges. After framing,
focus on the finishing touches. Use appropriate tools to secure screws properly. Ensure the studs are
straight and aligned. Misalignment can lead to problems later. A level is essential for accuracy.
Safety is paramount when working with steel studs. Wear gloves to protect your hands from sharp edges. Safety
goggles are important too; flying debris can cause injuries. Be cautious with power tools. Misuse can result in accidents.
Take breaks to avoid fatigue. Carefully inspect your work at each stage to catch issues early. Building a steel
stud wall may seem straightforward, but attention to detail and safety is crucial.